将阿里云的wordpress网站从轻量应用服务器迁移到ECS服务器。
在地址栏输入下面的地址
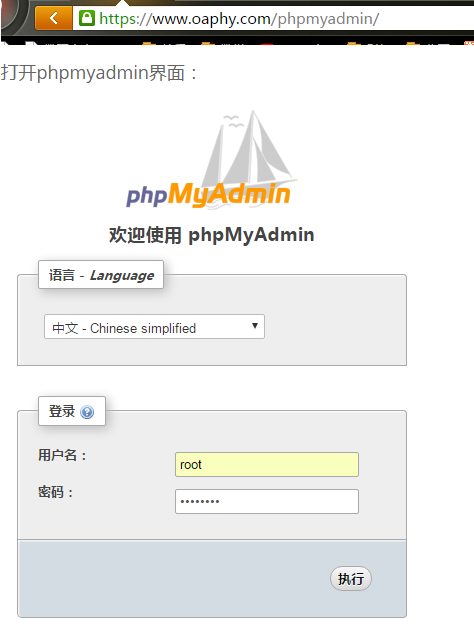
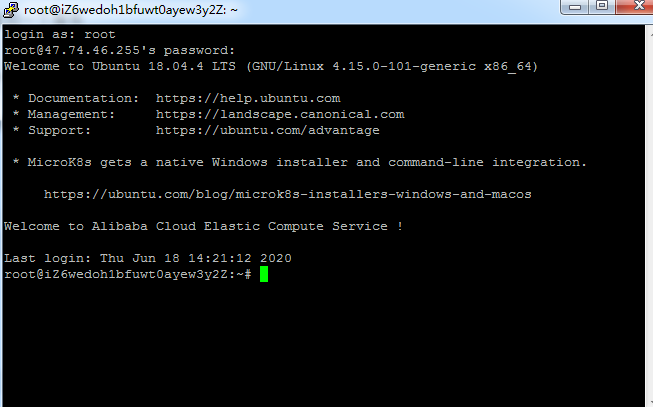
输入服务器账号密码,登入。

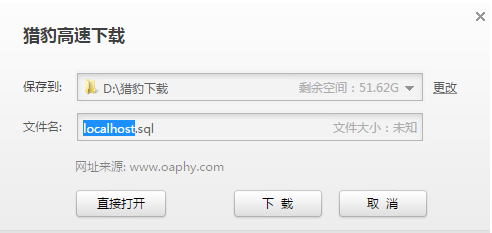
点击“导出”,再点击下面的“执行”,得到.sql的文件:
在phpmyadmin主界面查看mysql版本:
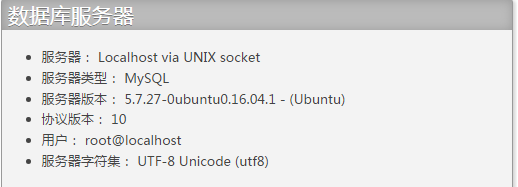
mysql版本为5.7.27
使用LAMP安装网站运行环境:
apt-get -y install wget screen git


git clone https://github.com/teddysun/lamp.git
cd lamp
chmod 755 *.sh

screen -S lamp
./lamp.sh
运行上面这段代码后进入LAMP安装界面,选择与我们之前的MySQL版本最近的版本5.7.30。
在原服务器上运行
php -v查看php版本,并在之后LAMP选择中选择与之最接近的php版本。
安装完成后,
- MySQL 安装目录: /usr/local/mysql
- MySQL 数据库目录:/usr/local/mysql/data(默认路径,安装时可更改)
- MariaDB 安装目录: /usr/local/mariadb
- MariaDB 数据库目录:/usr/local/mariadb/data(默认路径,安装时可更改)
- Percona 安装目录: /usr/local/percona
- Percona 数据库目录:/usr/local/percona/data(默认路径,安装时可更改)
- PHP 安装目录: /usr/local/php
- Apache 安装目录: /usr/local/apache
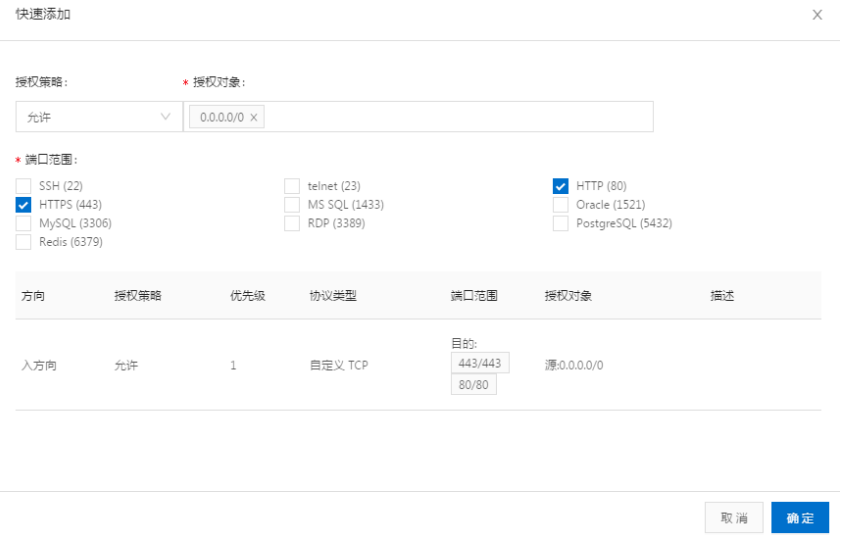
在安装好后,去阿里云后台修改安全组,增加http的80端口,才能访问
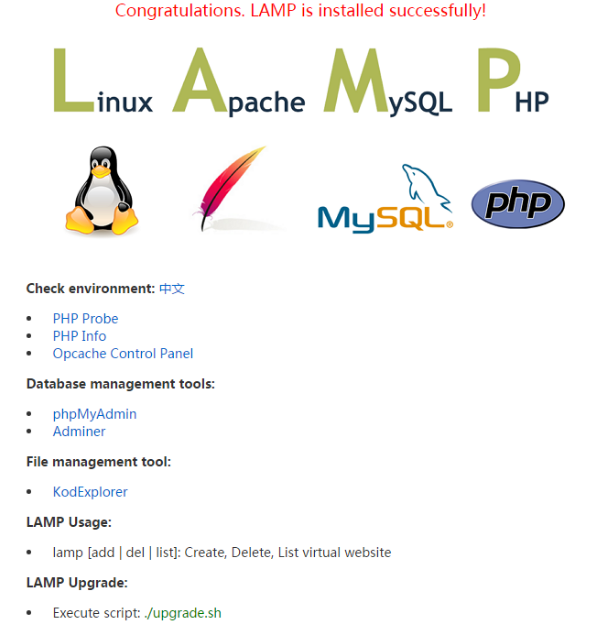
之后直接在浏览器中访问新空间的ip地址,看到LAMP欢迎界面:
默认网站安装目录在/data/www/default
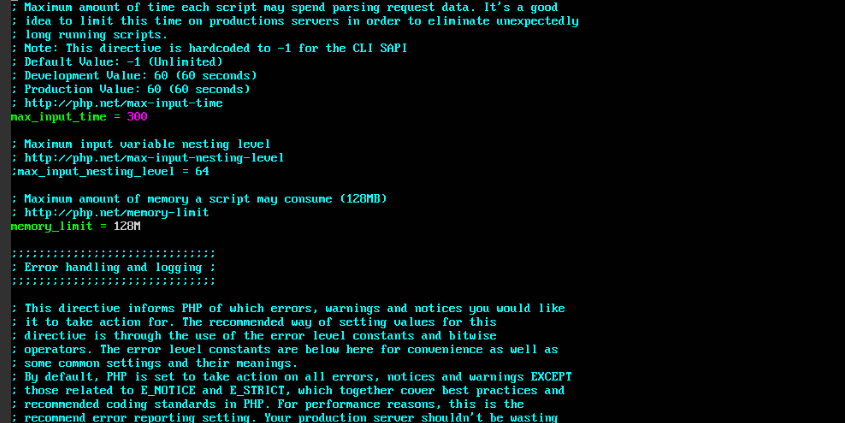
导入数据库遇到报错,网上说可能是php内存限制
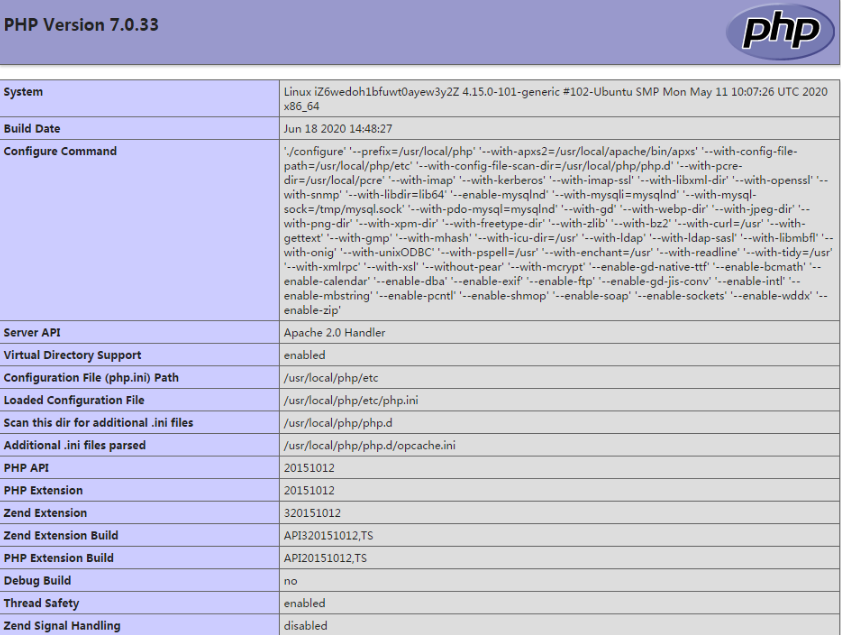
在浏览器中访问phpinfo.php文件得知php.ini在
| /usr/local/php/etc/php.ini |
于是去找这个文件,发现内存肯定是够的:
发现是没有先行建立一个数据库。实际上,应该新建一个数据库,再把sql文件导入这个数据库。然而,经过了建库的过程,虽然导入是成功了,但是得到的数据表是不全的,少了很多。再回去看是不是导出的时候就出了问题呢?
回到原网站,发现导出的文件大小是4M,很诡异。网站这么久了,才4M的数据吗?后来发现确实有20M之多,4M明显是受了什么限制。但是,我也不想再继续在这上面花功夫了,我打算直接用mysqldump配合ftp工具来粗暴转移数据库。
在原网站后台新开命令行,输入:
mysql -uroot -p wordpress /wordpress.db对原数据库进行导出。用ftp下载到本地,再上传到新的服务器。
ssh配置
由于阿里云默认的远程连接经常掉线,为此,最好自己用putty连接,注意增加22端口
ufw allow 22/tcp并且配置好ssh文件
vim /etc/ssh/sshd_config注释掉
PermitRootLogin prohibit-password这一行,
并且增加
PermitRootLogin yes这一行,最后重启一下服务
/etc/init.d/ssh restart直到用putty软件设置好服务器ip地址,可以用root账户登入:
建立ftp路径
为了将网站上传到新服务器,最终还是需要建立ftp文件传输路径的。下面就进行具体操作
第一步:安装vsftpd
sudo apt-get install vsftpd
第二步:配置
vim /etc/vsftpd.conf
注销掉,关闭匿名访问
#anonymous_enable=YES
去掉注销,#让本地账号可以访问,比如root,等系统登录账号
local_enable=YES
write_enable=YES
第三步:如果你需要让root可以访问需要执行第三步
vim /etc/ftpusers把root去掉
最后重启vsftpd服务
/etc/init.d/vsftpd restart错误
如果将/etc/vsftpd.conf在listen设置成NO,则cuteftp出现如下错误,然后每30秒重连一次:
ERROR:>   	[2020/6/18 20:05:08] The remote host actively refused the attempt to connect to it.
		1) Verify that the destination server name or IP address is correct
		2) Verify that the connection port number is correct (under Site Settings | Type tab).
		3) The remote server may be temporarily or permanently inaccessible (try again later).
		4) Verify that you have chosen the right protocol (SSH2, SSL, FTP, etc.) and have setup all required options for that protocol.
		5) Verify that the destination IP address and port numbers are correct.
		6) The remote server may be refusing multiple connections from the same client. Try using only one connection thread when connecting to this particular server (Site Settings | Options).
		7) Try pinging the address.
		8) If you are using a router, verify the router is up and running (check by pinging it and then ping an address outside of the router).
		9) Do a traceroute to the destination to verify all routers along the connection path are operational.
		10) Verify that your subnet mask is setup properly.
		11) Verify that your local software or hardware firewall is not blocking outbound connections originating from CuteFTP.
		12) Verify that your anti-virus software is not at fault (try disabling it).
而如果将listen设置成yes,则会出现如下的错误:

在控制台可以看到类似于
FTP软件发送”AUTH TLS“提示 无法连接到服务器 的意思
结果发现不是listen的问题,而是ftp协议加密的问题,要在设置界面修改

最后的/etc/init.d/vsftpd.conf的内容可以很简单的
listen=YES
listen_ipv6=NO
anonymous_enable=NO
local_enable=YES
write_enable=YES
anon_upload_enable=YES
anon_mkdir_write_enable=YES
dirmessage_enable=YES
use_localtime=YES
connect_from_port_20=YES
PAM service vsftpd will use.
pam_service_name=vsftpd
rsa_cert_file=/etc/ssl/certs/ssl-cert-snakeoil.pem
rsa_private_key_file=/etc/ssl/private/ssl-cert-snakeoil.key
ssl_enable=NO
userlist_enable=NO
上传文件
下面参考了文章
wordpress整站迁移操作
mysql数据库导入
使用传输上去的数据库文件wordpress.db,登入数据库
mysql -u root -p注意登入mysql需要用上面的代码,并填入密码,否则会提示permission denied。
进入mysql之后选择数据库:
use wordpress;如果之前没有,可以新建一个:
create database wordpress之后设置编码:
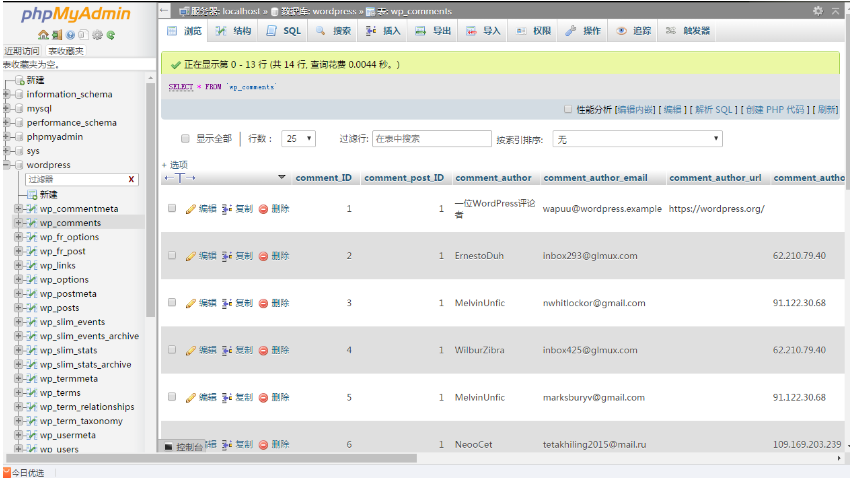
set names utf8;最后用source命令导入:
source /home/wordpress.sql导入了数据库之后,我们可以在phpmyadmin那里看到数据库中的各个表都已经出来了:
网站网页数据导入
将ftp上传的网页文件html.tar用tar命令解压得到html文件夹。前文提过默认LAMP的所安装的apache的默认网站根目录在/data/www/default,接下来要做就是将html文件夹代替default。
先将原来的default文件夹打包:
tar -cvf default.tar default/再将文件夹搬过来
cp -r /home/html/ /data/www/default/搬过来之后,就通过浏览器看到大大的几个字
Error establishing a database connection这个时候就根据文章:
wordpress整站迁移操作
的介绍,需要去修改网站根目录下的wp-config.php文件:
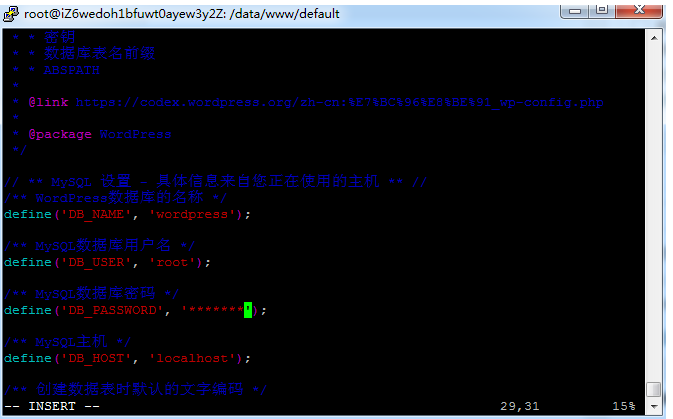
需要修改的是DB_USER和DB_PASSWORD这两个字段,改成什么呢?就是改成之前用phpmyadmin在新网站登录的时候用的用户名和密码,用LAMP安装的mysql,用户名就用root,密码是安装的时候自己设置的。
这个是网站迁移的最后一步,完成之后,就可以看到网站完全迁移过来了。